
 Member
Ok I recently posted pics of my illuminated M logo; here's how to create your own.
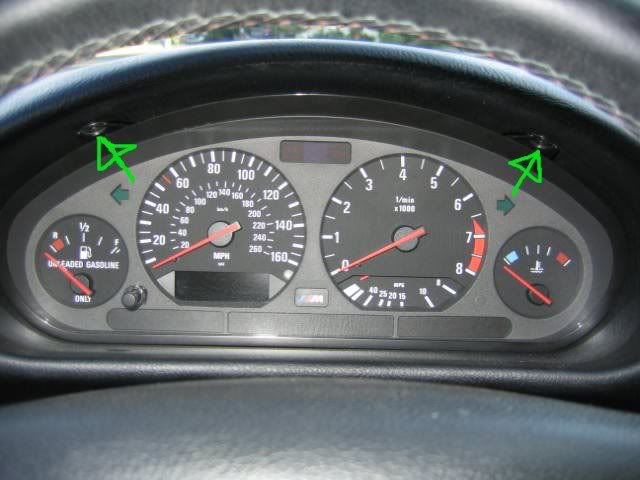
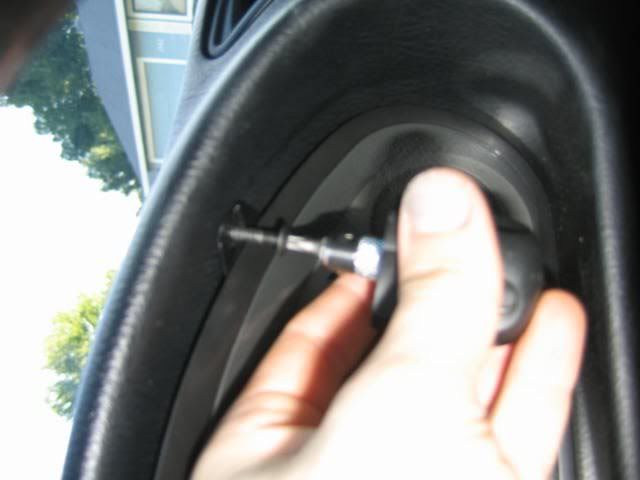
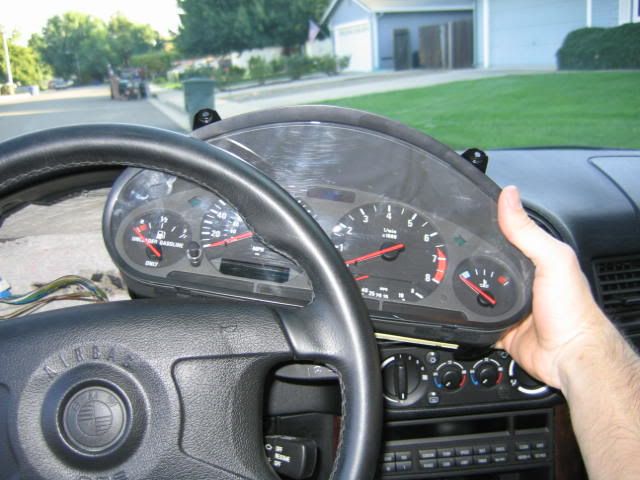
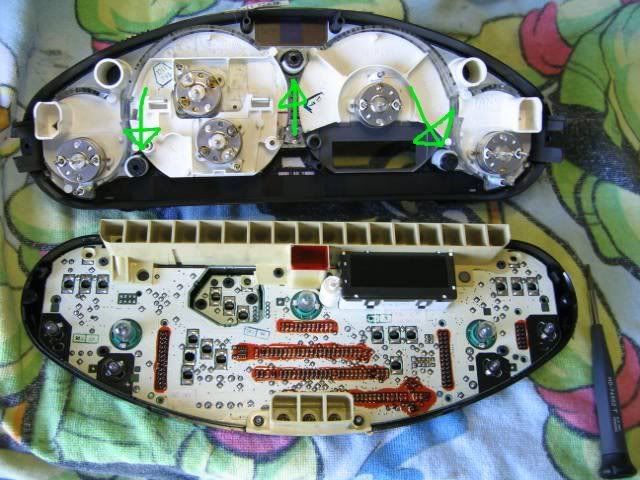
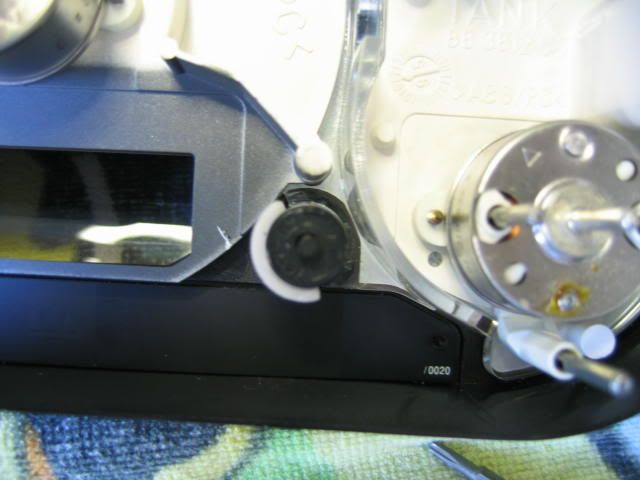
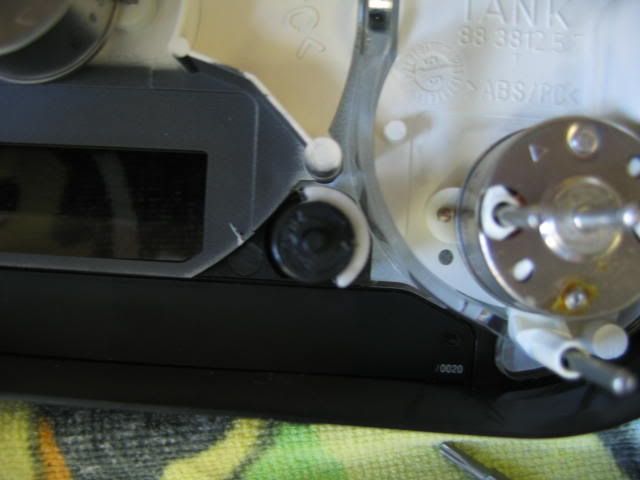
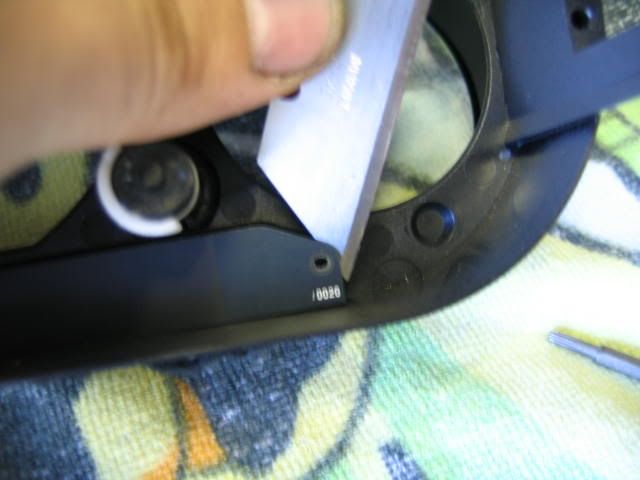
Step 1 Remove screws holding in gauge cluster. They are #20 torx head and are located here.
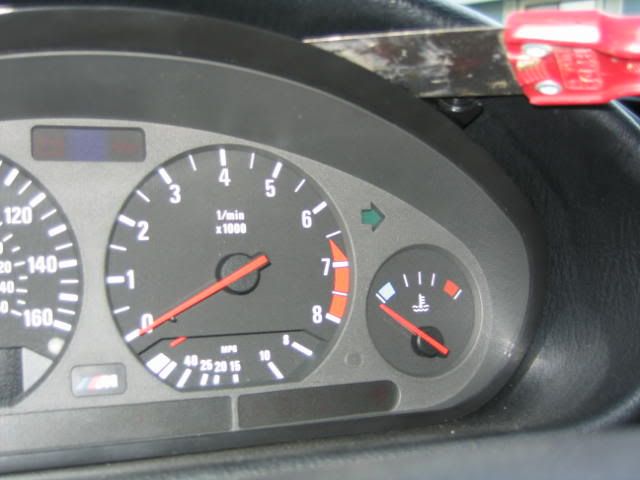
STEP 2 Pry out cluster using something flat and skinny--I used a putty knife. Be VERY careful as you don't want to scratch the dash or gauge cluster!
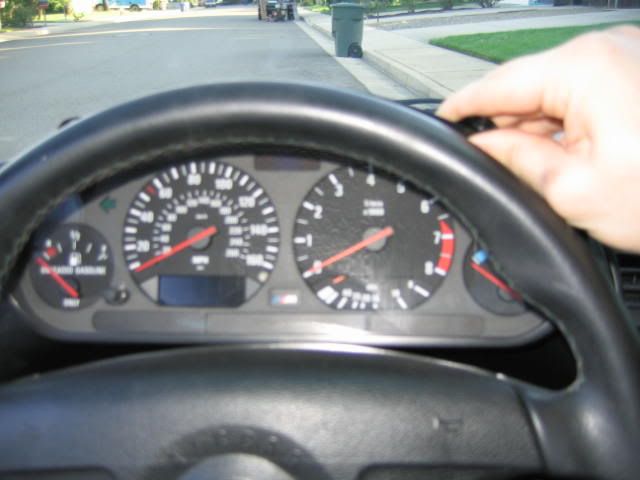
Step 3 Pull the cluster towards you (the steering wheel should be in its normal position.)
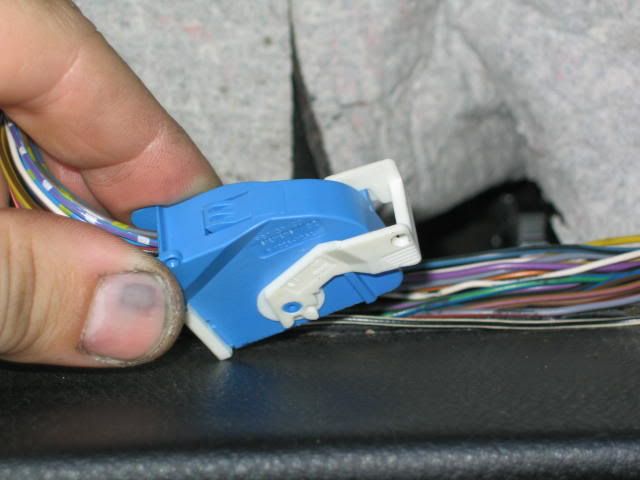
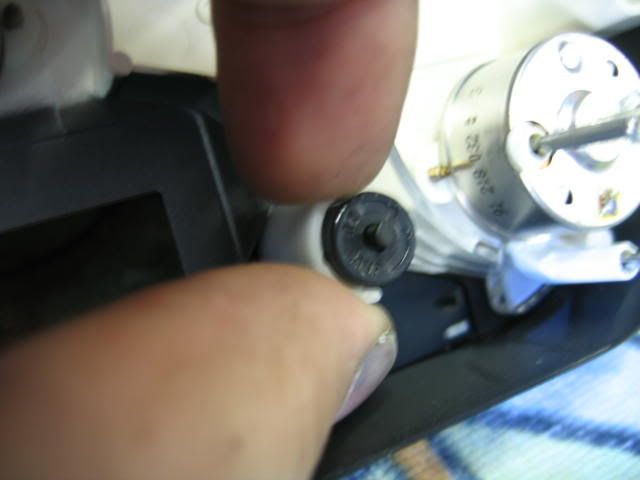
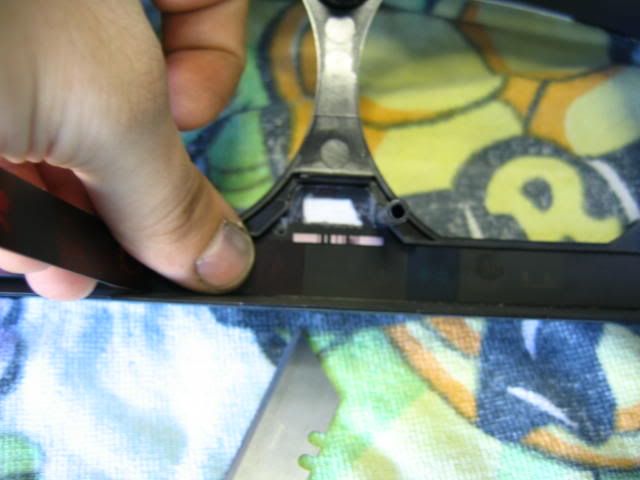
Step 4 Unclip the 3 wiring harnesses in the back of the cluster. This gets a little tricky because the way the harness works. It has a clasp that locks in a down position and you have to depress the spot right in front of it in order to slide it up. I have pointed to the spot you need to press.
clasp OPEN
Now slide the cluster out to the right. There is no need to remove the steering wheel; it will come right out.
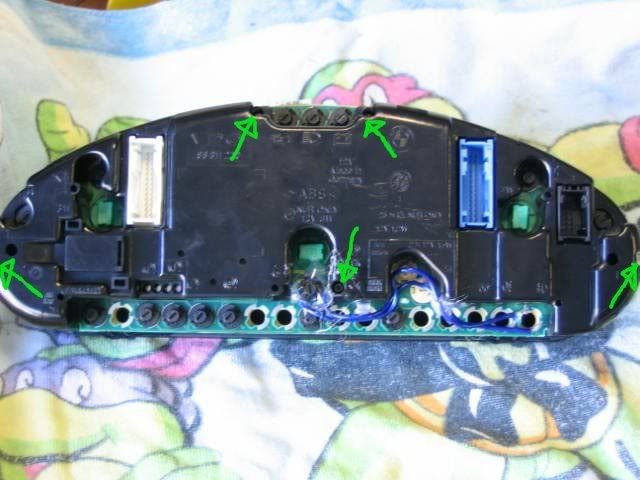
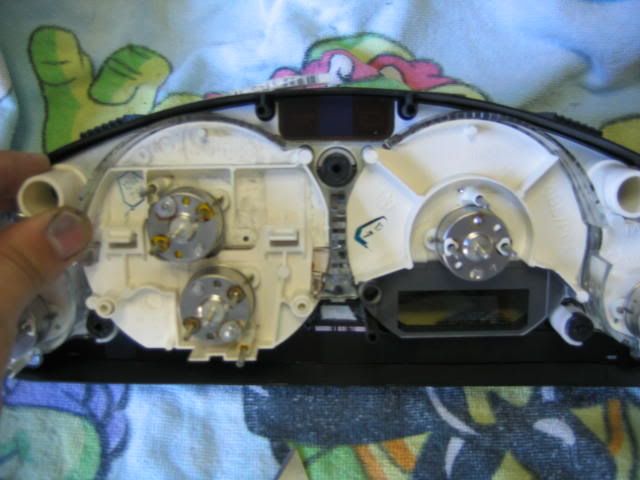
Step 5 removing the 4 screws for the back of the cluster will take a # 9 torx bit. The 2 top screws and the middle screw stayed in the shell and didn't drop out.
Step 6 I found it easier to pry the cluster apart from one side.
Member
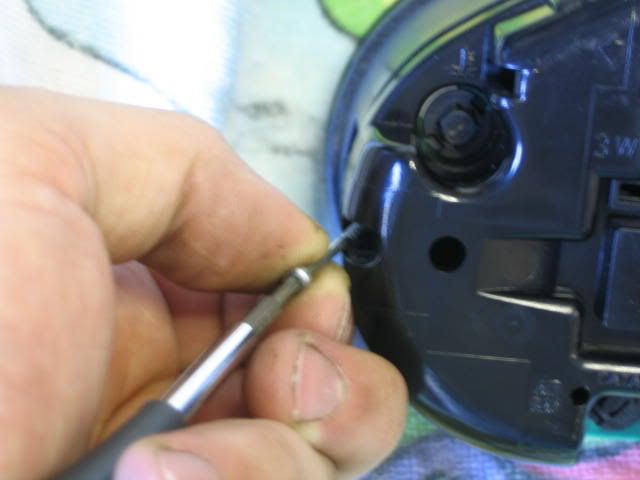
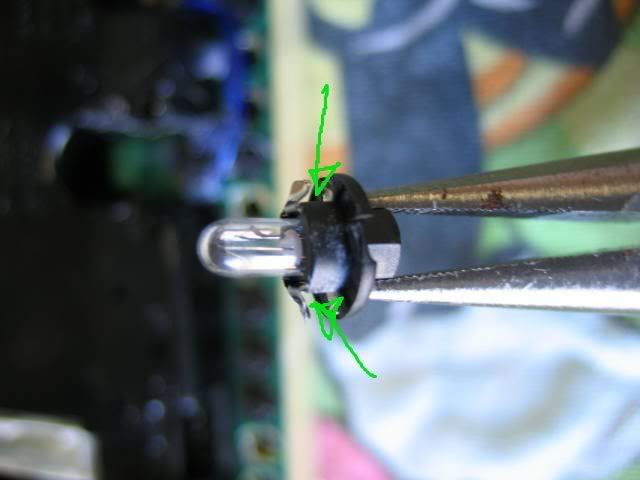
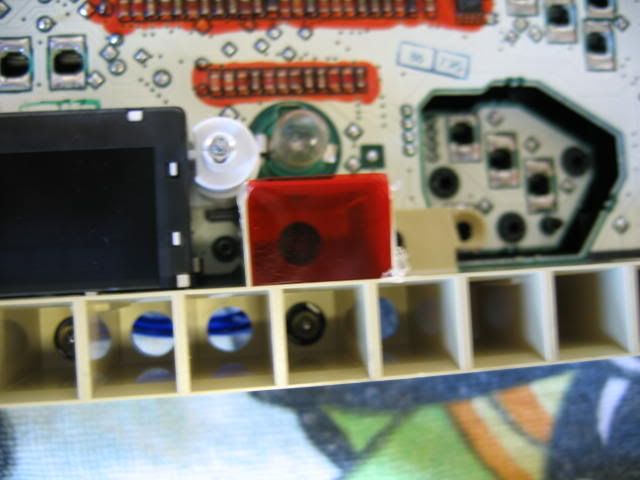
Step 7 I used the lamp (bulb) for my fog light indicator because I always have them on w/ my headlights and find the green “idiot light” kind of annoying. I just soldered the wires on the the contact points and then soldered the ends of the wires to my light bulb. Here is how to remove the bulb: twist it counter clock wise. Notice the direction of the line on the bulb I'm removing in comparison to the rest of them.
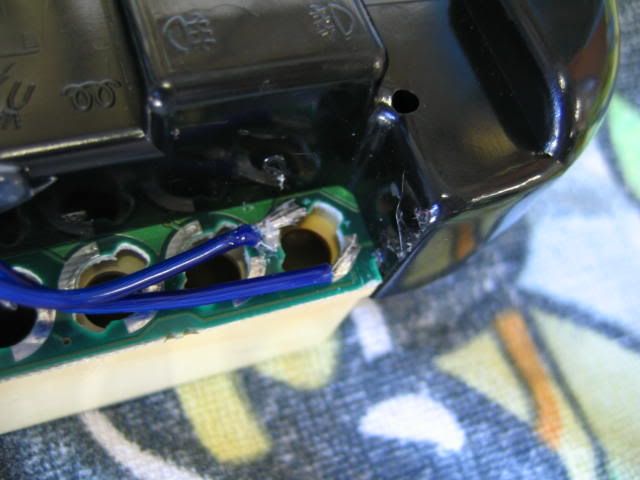
Here are the soldered wires on the board.
All I did was solder the other ends of the wires to the bulb here.
Then as far as mounting the bulb, I just used hot glue and stuck it in place here.
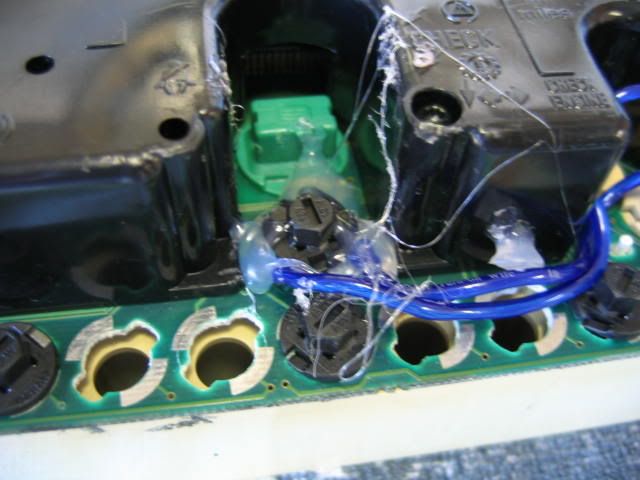
Step 8 I found it easier to get to the strip of symbols if the gauges themselves were removed. So, all you have to do for this is twist the 3 ridged white things to the left. I had to use a pair of pliers on a couple of them.
Here they are closed then open
CLOSED
OPEN
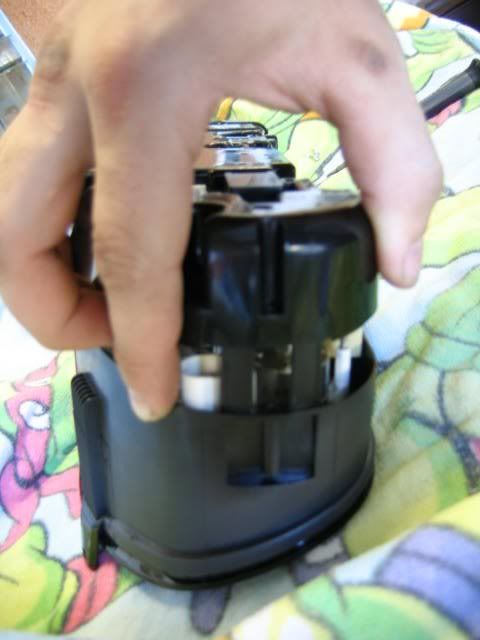
After that, just lift straight up on the gauges-- I like to grab them here, on both sides. Of course, I also had to hold the camera.
Step 9 Now, with a razor blade pop out the corners of the plastic strip with all the symbols on it.
Then flex the whole thing inward by grabbing both ends. The middle should pop out as well.
STEP 10 I only wanted as much light as was necessary, so I only removed the M logo itself. It's just painted on so any old paint remover will do the trick. I masked off the shape I wanted with tape.
Then I sprayed it with the stripper and waited a few seconds (be careful not to wait too long because the stripper can eat away the plastic.) Next, I washed it off with water and this is what I got.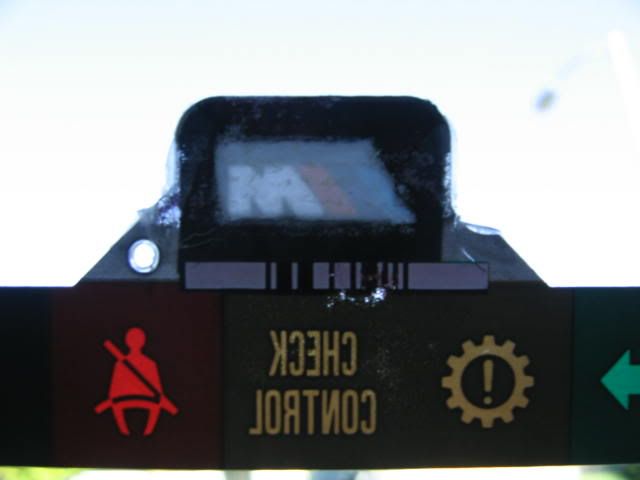
Last edited by barefootshifter; 03-13-2006 at 03:58 AM.
Member
Now, I couldn't find the perfect M logo online so I had to modify one using G.I.M.P.(hell yeah for open source!!) Here is the M I made. You will have to resize it to fit properly.
I just printed it out once I got the size right and cut it to fit on the FACE of the plastic strip. Then I taped it on. I also left black around the M so it would blend better.
By holding the strip up to the light, you can see how it works.
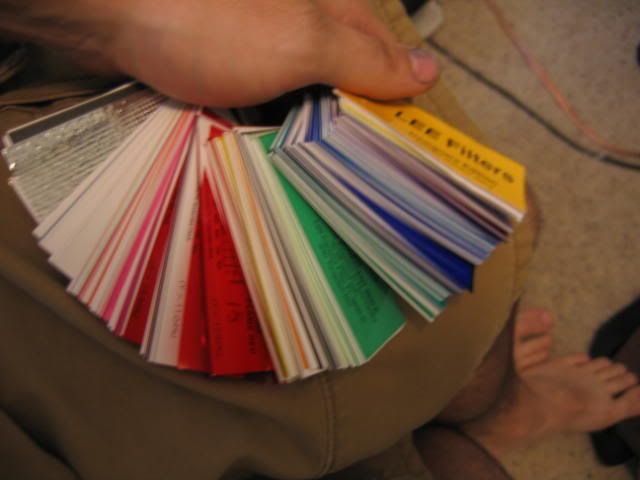
Step 11 Because it is now made of paper, when the normal light given off by the bulb hits the logo the result will be an ugly washed out M in the middle of an orange cluster. I am also a photographer and happened to have a sample pack of filters used for coloring my flash. (Yes, this was before photoshop made such things as easy as click)
I found one that looked like it would match the BMW orange of the gauges and cut out a little square. Then I glued it here.
STEP12 In order to reassemble, reverse steps 1 through 9 ... or so. When you go to reconnect the harnesses on the back of the gauges, make sure the clasp is "up."
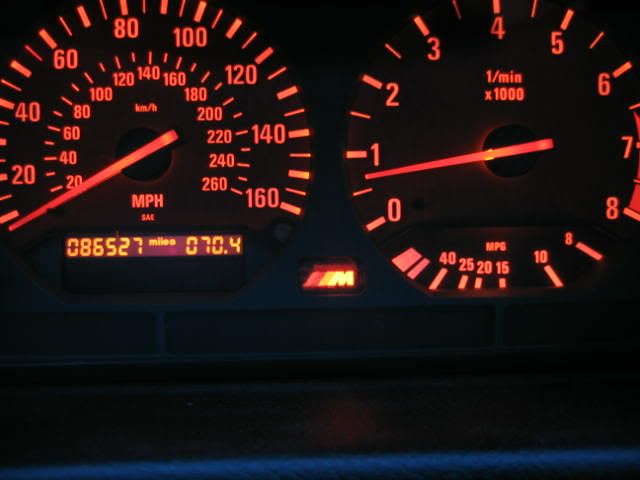
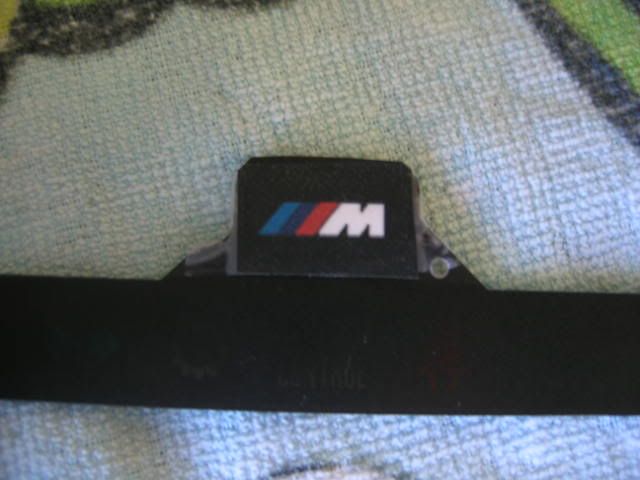
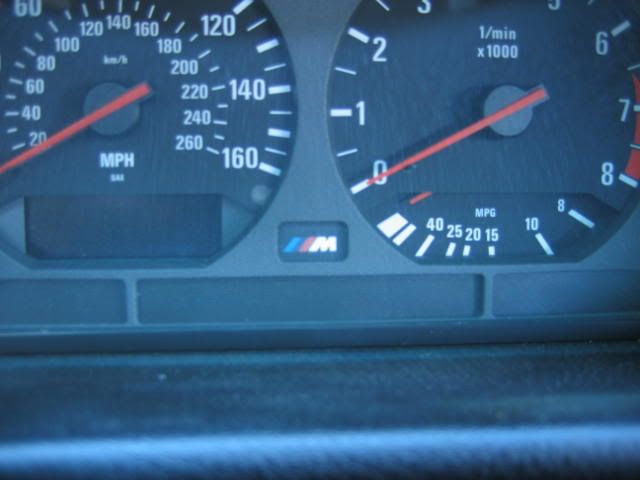
ok here it is all done.
Last edited by barefootshifter; 09-23-2005 at 10:18 PM. Reason: updated pics
Member
respect. but imo damn, that seems like a grip of work just for a little thing like that.
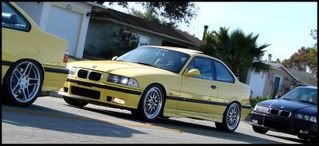
picture by slickav
bimmerfest '07
Semi-Professional Racer
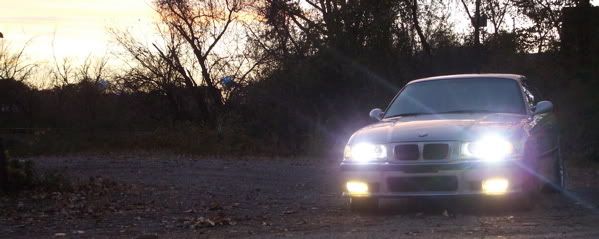
lets see it in car in day and night with the lights on man....
eurospec#19
That's good stuff. I'm surprised by the amount of work as well. Good job, and thanks for the DIY!
Semi-Professional Racer
ive taken the dash apart once before, its really pretty easy as he said... sounds like a fun mod. BUT PICS!!!
OMGHI I think you're hot.
Big ups to you yo.
Member
Props for the detailed work.
Resident Finger Waver
Creative grassroot fanatic's are an asset to the BMW community.
Nice DIY and great informative pics!!
1995 M3/2/5 : non-lux alpine white III on black
2013 GX460 4x4 : knights pearl on black
1997 Ram 3/4T 12v cummins turbo diesel : titanium silver on gray
Sandwich eater
Yes it is alot of work, but sometimes the smallest details make the big differences. And if he likes it, then it was time well spent. Good job!Originally Posted by dscypl3
Member
Do post up pics with it illuminated
Semi-Professional Racer
so are u gnna get around to posting pics of it on? i really anxious!!!!
Member
Ok I tacked on the finished pics to the 3rd post. I thought I had some on photobucket but when I cleaned it all up they got deleted. anyway here they are, It really isnt that much work to do this, infact the hardest part was getting an M logo that fit and looked right with the lights off and I stuck the one I used up there. This was my first DIY and I might have been a little too detailed but I figure its better that way.
baaaaaaaaaaaaaaaaaaaah...
All I can say is nice freakin work! Details is right. Nice write up. I have a feeling if I attempted it though I would certainly screw something up real bad. BTW.. how many horses does this add?
Now you'll never forget you're driving an M while looking at the speedo at night! Congrats!
Member
wow, that looked like a lot of work - looks great -props to you!
1995 M3
2001 530i-Bone Stock
Member
thanks It is really cool that it lights up though, def. worth the work.
"We have a girl form Oklahoma on the show, shes hiding a banana, we'll find out where later. Giggity Giggity..Giggity Goo
-quagmire
____________
Thats pretty sweet...nice job.
-Joe
Meh
Reminds me of the time I took each button, or lit surface of the dash of my integra, used alcohol to remove the stock photo filter, then added some amber in place...I was jobless at the time. Took hours. But it looked cool!
/thread
License Revoked
+1 - if he enjoyes it than it was valuable time well spent. I think it would be cool to have an illuminated ///M Logo also. I'd probably just use an orange LED for the light however... they make orange size 37/2721 bulbs now for about $1 /pair.
Manatees are good eatin
looks awesome. I just hope that paper doesnt get to hot from the bulb behind it and lights on fire. Then again those bulbs dont put off that much heat
95 M3 DINAN 3.2 OBD1 NA Child Eater
Domo Domo
good writeup
M3 Sedan Club President#21
License Revoked
true true

Lottery
sick...
Member
awesome, i'm loving the ninja turtle towels as well
 Posting Permissions


 Reply With Quote
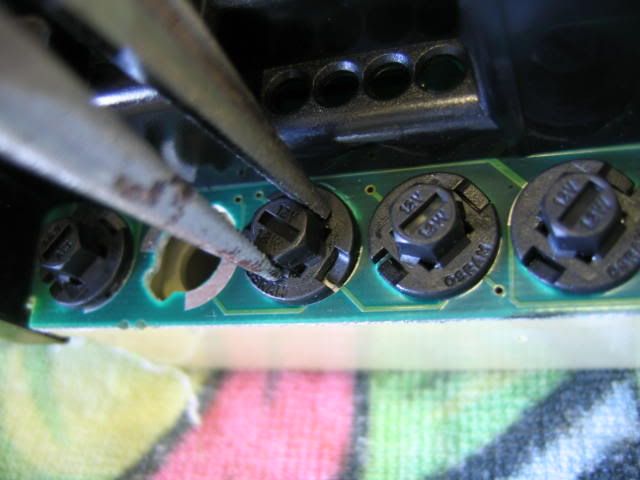


Bookmarks